Charging Your Motorcycle Battery
One of the most annoying situations is when you’re looking forward to a thrilling ride out, you have your leather jacket and helmet on, only to find your motorcycle won’t start due to a flat or discharged battery. Perhaps it wasn’t used for some time or your battery is getting older, either way, there a number of reasons why you have to charge your Motorcycle battery.
How Often Should You Charge a Motorcycle Battery?
Keeping your motorcycle battery charged will come down to how often you use it. For those who ride daily or on a weekly basis, your motorcycles battery should remain charged, but it would still be prudent to charge the battery once a year.
For those riders who don’t get out very often or store your motorcycle for long periods, then you’ll want to charge your battery every six to eight weeks this will ensure the next time you want to get out on the open road your battery is in prime condition.

What Type Of Battery Charger Do You Need?
Before charging your motorcycle battery, it’s important to make sure you have the correct type of Motorcycle Battery charger. Here we have a few important factors to consider.
- Battery and Charger Voltage – Motorcycles will either have a 12 volt or 6 volt battery, as such you will need the correct voltage battery charger to match your battery. Some modern battery chargers have the ability to charge both 6 and 12 volt batteries, like the Noco Genius battery chargers, otherwise a 12 volt battery charger must only be used with a 12 volt battery. Similarly, a 6 volt battery charger must only be used with a 6 volt battery.
- Battery and Charger Amps – Making sure your battery charger is the correct power for your battery is important, in most cases your charger should be approximately 10% capacity of your battery. For example: if your battery was a 50Ah battery, then your charger would ideally be a 5 amp charger. Most motorcycle batteries are between 2 and 30 Ah, this mean you can happily use a 1 to 2 Amp battery charger.
- Type of Battery Technology – Conventional lead-acid batteries (wet) are the standard battery associated with motorcycle batteries, and would use the standard setting on your battery charger (if your battery charger has mode options). AGM (Absorbed Glass Mat) lead-acid batteries are very popular and Gel batteries are available too, although not as popular. The latest technology which is increasing in popularity is Lithium batteries and these need to be charged with a Lithium battery charger or have the available Lithium battery mode on your battery charger. It is important to make sure your motorcycle battery charger is compatible with the battery fitted to your motorcycle, if you are unsure, then consult your owner’s manual or seek the advice of a professional.
- Smart or Intelligent Battery Chargers – These type of battery chargers are the most popular and also the easiest way to charge your motorcycle battery. They have the ability to detect the state of charge in your battery and modify the charge as applicable, consult the modes and abilities of the intelligent battery chargers available prior to purchase.
Battery Removal
Every manufacturer strongly recommends removing the battery from the motorcycle when you want to charge the battery. Although it may seem inconvenient to remove the battery from the motorcycle, it is far safer to do so. If you want to remove the battery from your motorcycle, the first thing we strongly advise is you carefully read your owners manual. This will let you know the tools that you’ll need and the correct process they recommend as this may vary from model to model.
- Always make sure you are wearing safety protection glasses for your eyes and gloves for your hands. Latex gloves can provide the dexterity that you need whilst protecting your hands.
- Make sure your motorcycle is parked on a flat surface and turn off the engine.
- Remove the seat from your motorcycle to access the battery, it may be the battery is located behind the side fairing. If your battery is not visible please check your user manual to locate it.
- Once you have located the battery, make sure you have the correct tools to remove the battery.
- Pull back the rubber cap from the battery’s black negative terminal, using a Philips screwdriver unfasten the bolt connecting the negative battery cable from the negative terminal. Once the bolt has been removed, free the battery cable from the battery. IMPORTANT – always remove the black negative battery cable first.
- Pull back the rubber cap from the battery’s red positive terminal, using the Philips screwdriver unfasten the bolt connecting the positive battery cable from the positive terminal. Once the bolt has been removed, free the battery cable from the battery
- Lastly, either remove the hold-down bracket by undoing the bolts securing the battery in place, or unhook the rubber strap holding the battery in place, the battery can then be removed safely.
Battery Charging
Now you’ve determined which type of battery charger required, it’s time to look at charging your motorcycle battery and here’s a step-by-step guide.
Locating the Battery: Most motorcycle batteries are located under the seat or just behind the seat, however you can also find batteries located just under the side fairing on some motorcycles. If you are unsure, consult your owner’s manual.
Charging the Battery
- Once you have located the battery then make sure the battery and the battery terminals are clean and dry.
- Make sure your battery charger is the correct power for your battery. As mentioned previously, in most cases your charger should be approximately 10% capacity of your battery. Example: if your battery was a 50Ah battery, then your charger would ideally be a 5 amp charger. Most motorcycle batteries are between 2 and 30 Ah, this mean you can happily use a 1 to 2 Amp battery charger.
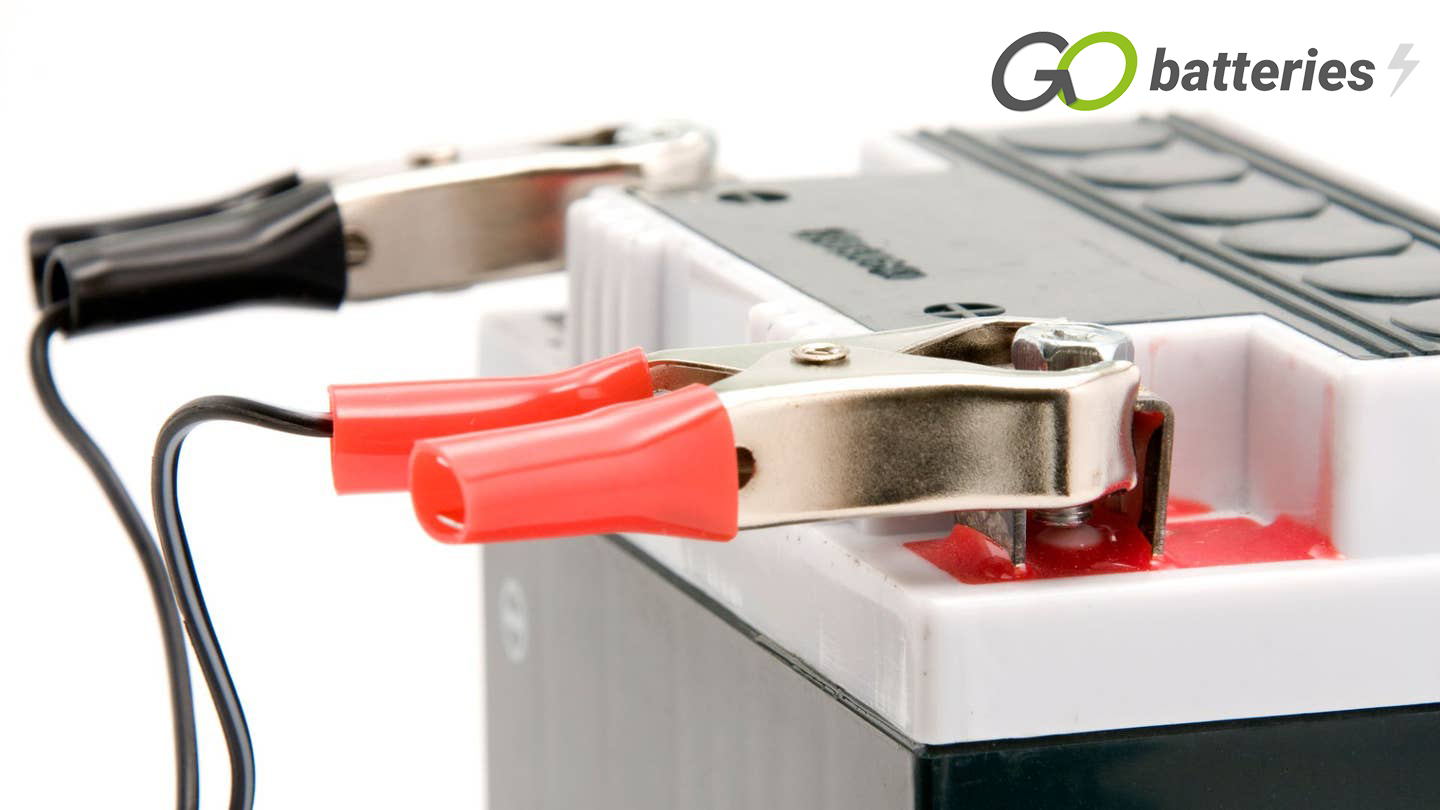
- Connect your intelligent battery charger to your battery by connecting the positive (Red) lead first to the positive terminal on your battery.
- Connect the negative (Black) lead to the negative terminal on your battery.
- Then you can plug your intelligent battery charger into the mains power and turn on the battery charger. If you have various modes on your intelligent battery charger then select the correct mode for your battery. If you are unsure, please refer to your owners manual.
- With intelligent battery chargers, once they have charged the battery fully they will switch to a float charge, meaning this just keeps a pulse charge going into the battery until you’re ready to take it off charge and use it. With this type of charger you can leave you battery charger on for 12 hours or so and then your battery should be fully charged.
- Before disconnecting the charger, make sure it is turned off. You can then disconnect the negative (Black) lead first, followed by the positive (Red) lead.
Disconnecting Your Battery Charger
- When your battery if fully charged and you want to disconnect the battery charger, make sure you turn the power to the charger off at the wall (the mains power outlet).
- Remove the negative (Black) battery lead first.
- Remove the positive (Red) battery lead.
- At this point it would be a good idea to test the battery with a battery tester, if you have one, or take it to a professional who’ll test it for you.
- Once you’ve had your battery tested and it has passed, you’ll be ready to install the battery back into your motorcycle.


