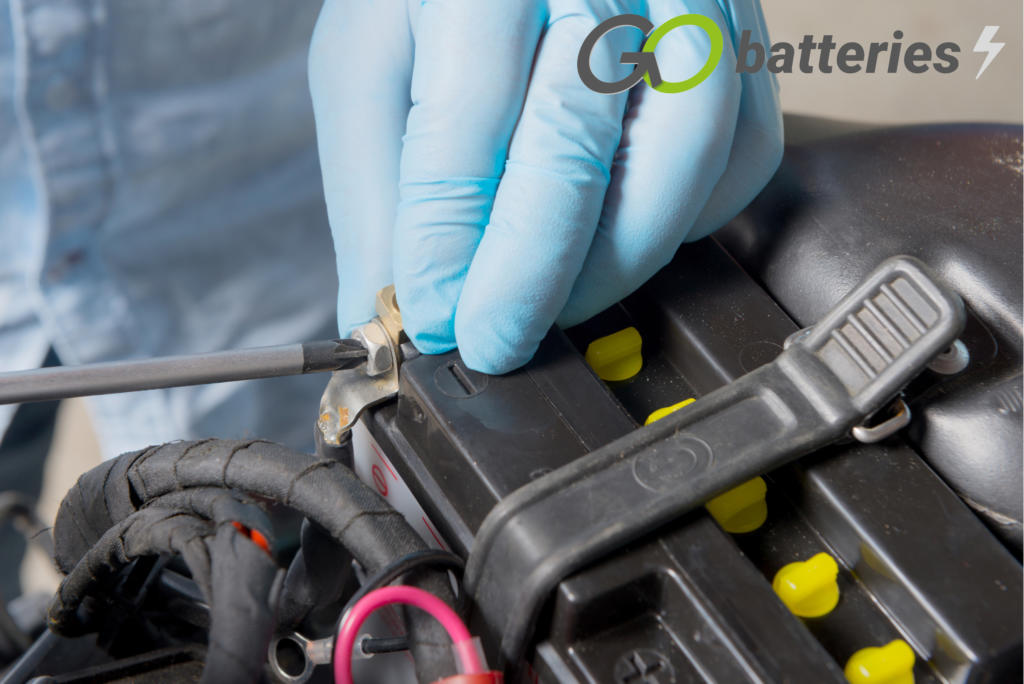
How To Change a Motorcycle Battery
Every motorcycle owner can learn some basic maintenance skills, and replacing a motorcycle battery is both easy and important. Just like any other vehicle, a motorcycle will require a fresh battery from time to time. Removing the battery is also a necessary step in charging it or placing the motorcycle into storage.
Points to Note
- Conventional Wet batteries should never be installed in any position other than upright as their liquid electrolyte will leak from the battery case causing damage to the vehicle
- For any position other than upright (off the shelf orientation) a “non-spillable” “Factory Activated” battery is recommended
Removing a Motorcycle Battery
- Always make sure you are wearing safety protection glasses for your eyes and gloves for your hands. Latex gloves can provide the dexterity that you need whilst protecting your hands.
- Make sure your motorcycle is parked on a flat surface and turn off the engine.
- Remove the seat from your motorcycle to access the battery, it may be the battery is located behind the side fairing. If your battery is not visible please check your user manual to locate it.
- Once you have located the battery, make sure you have the correct tools to remove the battery.
- Pull back the rubber cap from the battery’s black negative terminal, using a Philips screwdriver unfasten the bolt connecting the negative battery cable from the negative terminal. Once the bolt has been removed, free the battery cable from the battery. IMPORTANT – always remove the black negative battery cable first.
- Pull back the rubber cap from the battery’s red positive terminal, using the Philips screwdriver unfasten the bolt connecting the positive battery cable from the positive terminal. Once the bolt has been removed, free the battery cable from the battery
- Lastly, either remove the hold-down bracket by undoing the bolts securing the battery in place, or unhook the rubber strap holding the battery in place, the battery can then be removed safely.
After removing the battery, inspect it for any signs of damage, such as cracking. Be careful not to touch any leaking battery acid with your bare hands as it is very corrosive. Also be sure to clean the connection points of the battery cables to remove any acid or crystal build-up. This will improve the connection with the new battery. Special pads and gels are available to keep the connection points clean and transmit charge more efficiently.
Installing The Motorcycle Battery
Before installing the battery, make sure the battery cables and terminals are clean and free of any corrosion. Clean the battery tray of any dirt or residue acid prior to installation.
Whether you are installing a brand new battery, or a battery you have had on charge, even a battery you have stored over the winter, make sure it is clean, undamaged and fully charged. Once you are happy your battery is ready to be installed, you can begin the process.
- Always make sure you are wearing safety protection glasses for your eyes and gloves for your hands. Latex gloves can provide the dexterity that you need whilst protecting your hands.
- As with the process of removing the battery you will still need your tools for installing the battery, so make sure you have everything you need prior to getting started.
- Install the battery in the same orientation and layout as is was prior to removal. If you are unsure then refer to your diagram or picture, failing that, please refer to you owners manual.
- When connecting the battery cables always connect the positive (Red) cable first. Using your Philips screwdriver fasten the bolt connecting the positive battery terminal to the positive terminal on the battery. Once you have a secure connection, coat the terminals clamps with some water replant and rust prevention grease and replace the rubber cap.
- Connect the negative black terminal and using your Philips screwdriver fasten the bolt connecting the negative battery terminal to the negative terminal on the battery. Once you have a secure connection, coat the terminals clamps with some water replant and rust prevention grease and replace the rubber cap.
- Attach the hold-down bracket or strap and using the bolts, fasten securely making sure the battery is firmly in place.
- Replace the seat unit or location cover and your installation is complete.
After replacing a battery, it’s a good idea to test the motorcycle to ensure that everything works as it should. Turn on the ignition to check that the lights come on. Next, start the motorcycle. If it starts with no hesitation, the battery change was successful. If there are any problems starting the motorcycle, double-check the battery connection. If that does not work, there may be a mechanical problem with the bike or its electrical systems, or the battery may not be sufficiently charged.
Once your new battery is installed, be sure to dispose of your old battery safely and legally. You may be able to recycle your motorcycle battery through a local battery supply store, recycling centre or motorcycle repair shop.


