














Battery Care & Maintenance
The right care is essential to maximise the life of your Lawnmower or Lawn Tractor battery
Typically, a lawnmower or lawn tractor battery should last between three and five years, but to achieve this it is important you regularly maintain the battery. People often think when they’re not using their lawnmower or lawn tractor that the battery will remain charged and be ready for when they next use them. The truth is batteries will naturally discharge even when you’re not using them. That’s why you should ensure they are kept topped up with charge, using the correct battery charger, so the next time you want to mow your lawn you won’t be disappointed. During this help section we will refer to “lawnmower” but remember this can include “lawn tractors” for ease of explanation.
Regularly checking the level of charge in your battery is good practice to ensure you achieve the best possible battery life.
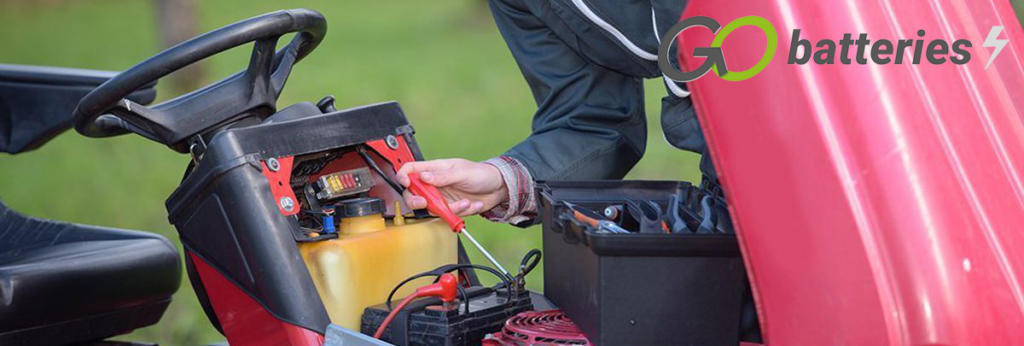
When it comes to lawnmower battery maintenance, you will first want to establish what type of battery technology you have. For instance do you have a standard wet flooded battery? Or may be you have the more modern and popular AGM battery? You might find you have a Lithium battery, while the basics are the similar we will help establish a basis for you to maintain your lawnmower battery.
Wet Flooded Battery
Your standard wet flooded (12 volt) battery will have six filler caps at the top, which is where the electrolyte (acid) is added when the battery is activated when new. When you have a wet flooded battery you have to make sure the acid level is between the lower level and the upper level marked on the battery, if you need to top up the battery, use distilled water (not tap water) and use the filler caps to do so. During your maintenance, you want to keep the battery clean and make sure the terminals are free of corrosion, as this can lead to many problems. If you find any corrosion or damage to the battery cable or terminals, you may want to seek professional advice as they are likely to need replacing. If you need to clean the battery and the terminals then a mixture of water and baking soda will be needed, it is also an ideal time to clean the battery tray from any residue acid that may be present, this can be done when the battery is removed to charge it during your maintenance schedule.
Regularly check the level of charge in the battery and recharge as required on the appropriate battery charger, if you are using the lawnmower regularly, then it’s likely you may not need to charge it as much. If you are planning on storing your lawnmower, perhaps over the winter, then you will want to remove the battery from the lawnmower (keep the battery inside, ideally in a garage), check that there is sufficient acid by using the levels marked on the battery and fill if required. Prior to storing your battery you want to make sure the battery is clean and free of damage, ensuring the terminals are free of corrosion and fully charge the battery.
If you happen to use your lawnmower all year round then sticking to the above will help get the most out of your lawnmower battery, however if you are planning on storing your lawnmower over the winter then please see storing a lawnmower battery.
AGM Battery
When it come to maintaining your Lawnmower battery that has AGM technology, you’ll be pleased to know there isn’t as much maintenance to do as with a wet flooded battery. This is because AGM (Absorbed Glass Mat) batteries are fully sealed and so once they have been activated from new, they are closed and as such they don’t require any electrolyte or water. All of that said, you will still need to regularly check the charge level in your battery and charge as required. Also keeping your battery and terminals clean and free of corrosion will prevent many problems from occurring. When cleaning your battery, terminals or the battery tray then using water and baking soda is a great solution.
Lithium Battery
As with the AGM battery, there is relatively little maintenance to do on Lithium batteries unlike the wet flooded lead-acid battery. You must make sure you regularly check the charge level of the battery and charge as required. When storing a Lithium-ion battery, disconnect the battery from the lawnmower and immediately charge the battery on a Lithium battery charger, the battery can then be happily stored for up to a year. When you wish to use the battery after storage, put the battery on charge so you have full power prior to use. Also keeping your battery and terminals clean and free of corrosion will prevent many problems from occurring. When cleaning your battery, terminals or the battery tray then using water and baking soda is a great solution.
Storing a Lawnmower Battery Over The Winter
Once you have finished using the your lawnmower for the season and it’s time to put it away for the winter, there are some things you want to do to make sure your lawnmower or lawn tractor is in the best possible condition for storage, this includes your battery. Firstly you’ll have wanted to thoroughly wash and dry your lawnmower / tractor removing any mud and grass. Next you will have to prepare for the winterisation and you may have your local dealer taking care of this for you, but if you’re doing it yourself then part of that process is preparing the battery and below we have some great tips to ensure you don’t have to purchase another battery for next season. When removing your battery from your lawnmower we would highly recommend carefully reading the owners manual, this will let you know the tools that you’ll need and the correct process they recommend as this may vary from model to model.
- Always make sure you are wearing safety protection glasses for your eyes and gloves for your hands. Latex gloves can provide the dexterity that you need whilst protecting your hands.
- Before starting, make sure you have the tools you’ll need. Items such as: rags, socket set, extension bar, screwdriver, cable ties and some solution of water and baking soda for cleaning any corrosion.
- Remove the seat from your lawnmower to access the battery, if your battery is not visible please check your user manual to locate it.
- Pull back the rubber cap from the battery’s black negative terminal, using a Philips screwdriver unfasten the bolts connecting the negative battery cable from the negative terminal. Once the bolt has been removed, free the battery cable from the battery.
- Repeat the previous step for the red positive terminal.
- Remove the hold-down bracket by undoing the bolts securing the battery in place.
- Remove the battery from the lawnmower. Clean the battery and terminals, check for any damage and place the battery on charge, you will want to store the battery fully charged, in a dry safe place out of sunlight.
- Remove dirt from the battery tray in the lawnmower and clean the area, making sure the terminals on the end of the battery cable are clean and free of dirt or corrosion.
- Once a month check the battery charge level and top up where necessary, if you have a wet filled battery then check the acid/water level and top up with distilled water as required. Make sure this fluid never falls below the lower-marker level.


